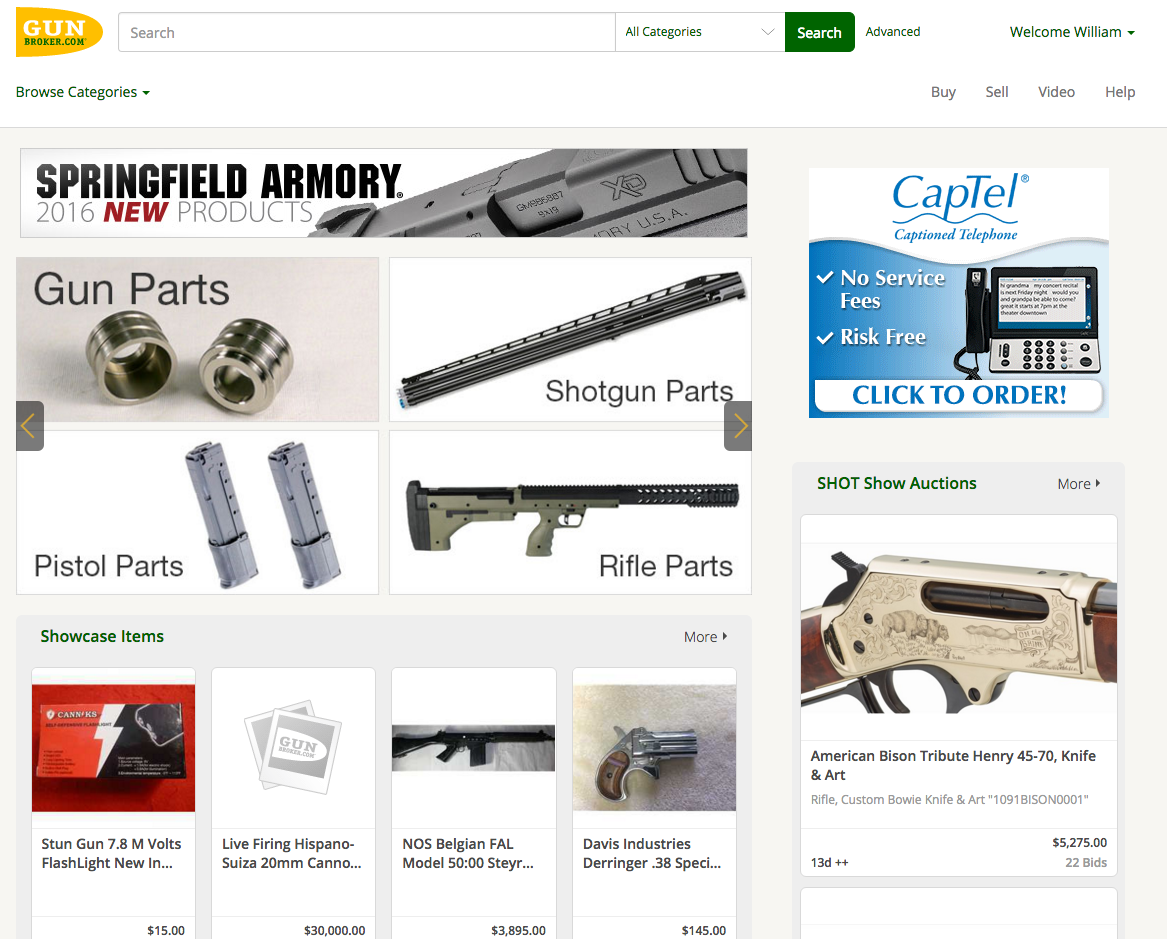
Dedicating one person on your team to create and manage GunBroker.com listings for your business will make for more consistent and higher quality results. Practice does make perfect, and being in the GunBroker.com site daily (or at least frequently) will foster efficiency from familiarity. Whether that person is you or one of your employees, a certain amount of pre-listing work will help in the long run.
Starting and staying organized will mean far less time creating each listing and result in fewer mistakes. Setting rules such as return policies will make sure that both your business’s and GunBroker.com’s guidelines are followed. Having all of this in one place – perfection! Here is a quick rundown of how to create a listing the Guru way.
Tracking and Analysis — Begin with this Excel file to gather all the information needed for each item as well as to make comparisons to existing listings. The Excel sheet headers used are the same as the required fields on GunBroker.com.
Company Policies and Terms — In the same Excel workbook, but on a separate sheet, create a description of the company policy for shipping, terms, payment forms accepted, return policy, etc. Cover everything here so there is no confusion later. If there are different policies or terms for handguns vs. rifles or New vs. Used items, create a separate sheet for each type.
Shipping Profile — Take the time to create a shipping profile on GunBroker.com. It will allow the buyer to see the cost of shipping based on weight or total cost of items. Remember, anything done to make it easier for buyers increases sales.
Photos — Gather up all the items ready to list and take photos and resize them for the listing. Make sure to take photos of any dings, dents or scratches. See previous newsletter for photo tips. Now that the Excel sheet and photos are completed, start creating the listing(s) in the HTML template.
HTML Template — If you haven’t already created an HTML template for your company, please consider doing so. It is fairly simple, but will make a big improvement in the look and readability of the listing. Create a new HTML description by copying and pasting the Excel sheet data to the HTML template. Set a goal of learning additional HTML and inline styling to really make the template shine.
Creating the Online Listing — Once all the HTML templates have been created, go online to GunBroker.com and set up the listings. With all the details in the Excel file, there is no need to go hunting for details or for someone else’s permission to include payment types. The cumulative time spent should decrease, leaving more time for sales.
Sold! — Once an item has sold, go back to the Excel sheet and record the date sold, price and buyer information. Think about adding columns for the date shipped, how shipped and a tracking number.
By creating and maintaining this Excel sheet, you will have:
- Everything in one place.
- A history to pull from for future sales.
- A sales history that can be instantly analyzed at any time.
- A permanent record of all GunBroker.com listings.
Bonus Excel Tips:
Switch the movement when hitting return from moving down to moving right. Perfect for this file.
Click File > Options > Advanced > Editing Options. You’ll see “After pressing Enter, move selection.” In that drop down box select Right.
Note that this will change it for every Excel file, so remember to change it back. Or use an alternate way to “enter” data – when finished typing text, click on the right arrow instead of the enter key.
Selecting all the text in a cell. Just select the cell by clicking on it once. Then use shortcuts Ctrl+C to copy and Ctrl+V to paste. Or, use the right mouse button for both.
Filtering. Small boxes with down arrows are in each column header. Once some data is entered, those down arrows can be used to filter for, say, a manufacturer. Excel will “hide” all rows that do not have that filtered item. A nice way to see things at-a-glance once there are more rows than are visible on-screen. Go back to the same down arrow and click on “all” to see everything again.


